Luxe Pumpkin Luminarias
/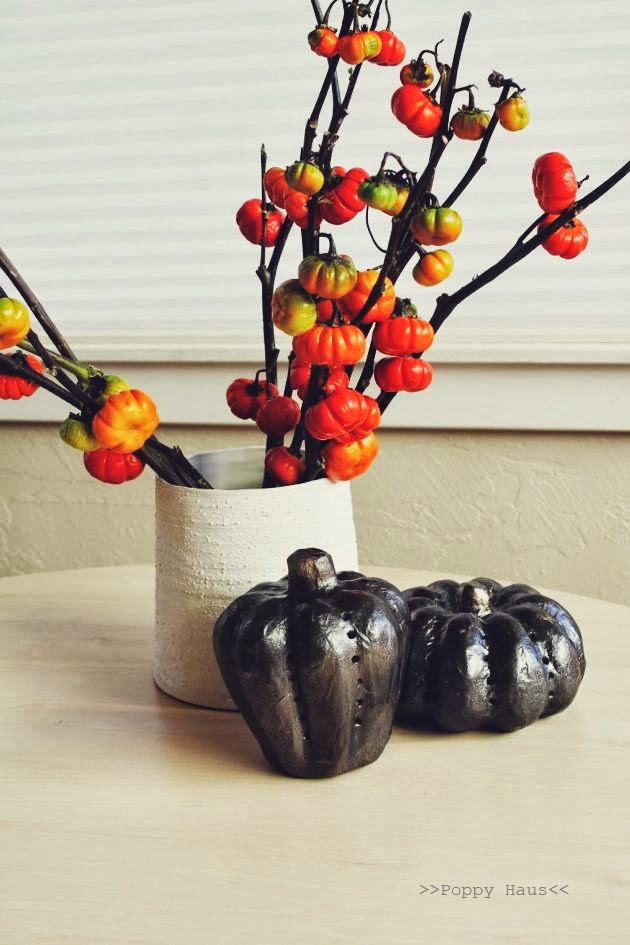
I've had a couple of craft store pumpkins sitting in my work space (aka my dining room table) for several weeks just collecting dust while I worked on other things. I finally got to them, now that you've been totally inundated with Halloween decor ideas, so just know that I'm planning on rocking them on the Thanksgiving table as well. These are "transitional" pumpkins. That's right, I said transitional. Also, they light up, so they are magic. I'm planning on making several more, because we are hosting this year and if the weather cooperates we'll be eating at an extra-long table extending out into our backyard. This project is easy enough for a mid-sized kid to work on, so I'm enlisting an enthusiastic Jasper to help me poke all the holes. I love my sweet artsy boy. Here's the tutorial and materials list...

Pumpkin Luminarias
Materials: papier-mache pumpkins, bamboo skewer, chopstick, small box cutter or cutting blade, black metallic spray paint, battery operated tea light.

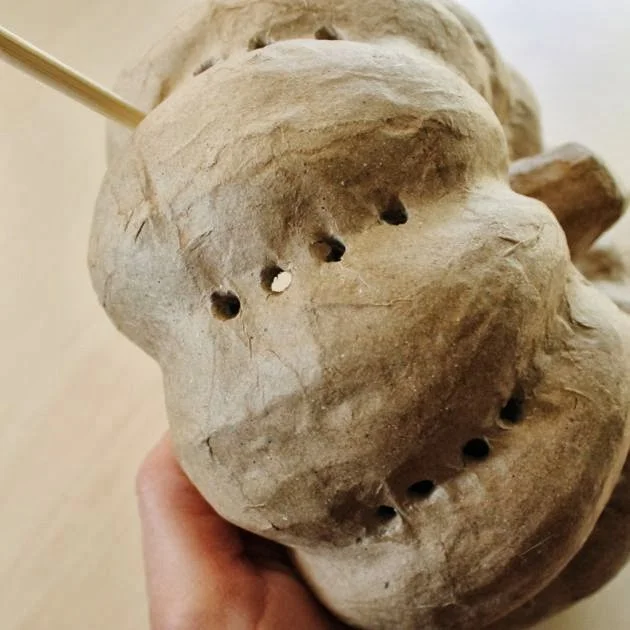
1. Poke holes into the seam lines of the pumpkin, spaced about 1/2".
Start by poking the holes with a skewer, then go back through and widen and round using a chopstick.
2. Use a blade to cut a hole in the bottom of the pumpkin wide enough to insert a battery operated tea light.

3. Spray with 2 light coats of metallic black paint (Rustoleum) and allow to dry for several minutes. Pop a light in and you're all set!