Reconstructing Home
/
OH MY GOSH, are you still there? I had to take a BIG break during construction, and then we went on a lazy summer road trip across Oregon. The last thing I showed you was the completion of demo, and the beginning of drywall which seems like a million years and 50 projects ago. What happened next involved a lot of elbow grease on my part, some steep learning curves, lots of power tools, and a few wrenches in the plan. I did manage to snap some pictures to share with you along the way. At long last, here we go...
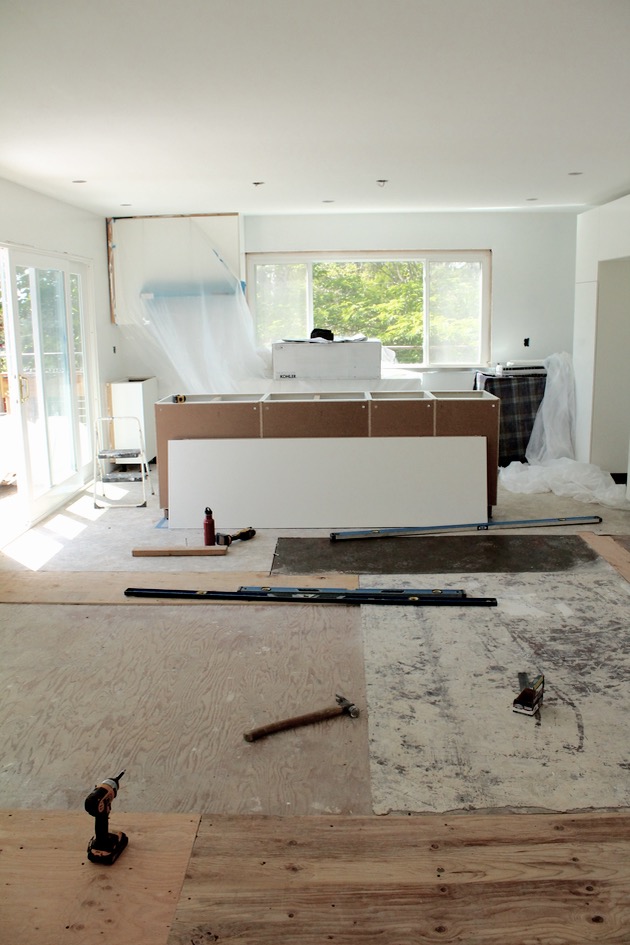
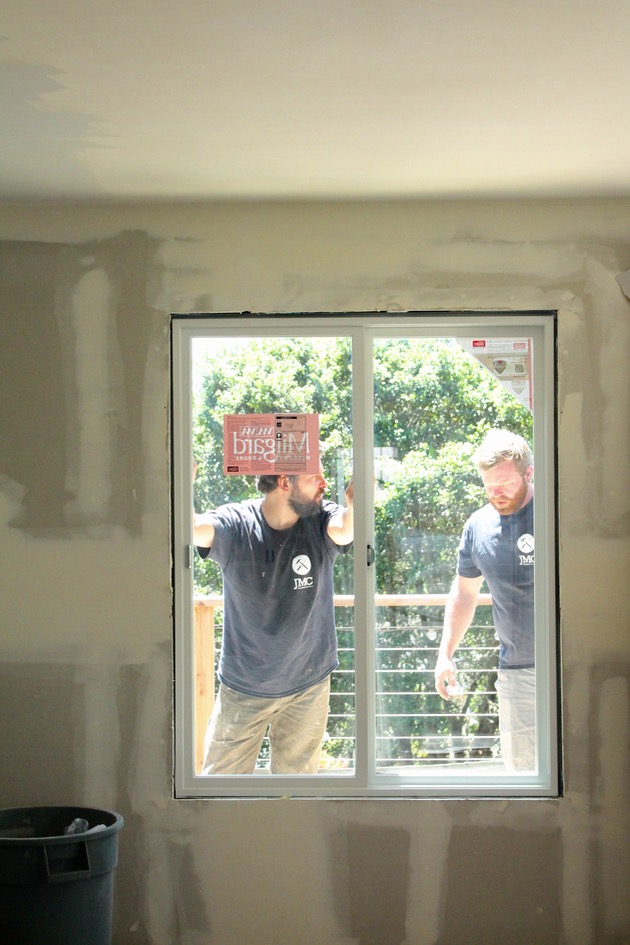
The rough-in plumbing and electrical was completed, drywall was up, the walls and flooring removed and leveled as much as possible. I spent the better part of a week assembling cabinets and another week doing the initial painting of the entire upstairs of the house. The truth is, this was the easy part. Once you build one IKEA cabinet you figure it out, make a system, and knock it out pretty quickly, and since I decided to keep the house all white, I didn't have to spend a ton of time taping off sections or covering the unfinished floors. While this was going on, the contractors framed out and installed the new windows, installed the cabinets/built out the island, and prepped the subfloor.

After painting I demoed the bathroom tile. It was just one day of work, but I felt like a bad ass when I was done. Before this project began I didn't know how to use much more that a drill and a jigsaw (I'd done a little work with miter saws with Anthropologie), but by the end I was wielding all sorts of crazy tools. I'd get a quick tutorial from our contractor (my brother-in-law, Ben) and hack my way through it, and for the most part everything turned out the way I'd hoped.

Next up was the flooring. I really wanted to put in new hardwood, but with our budget bamboo was probably the only option and I wasn't sold on the look or the durability, so began my quest to find the best possible laminate floating floor. After months of back and forth, we settled on this Distressed Oak by Allen & Roth (Lowes). I laid the span of the house without any trouble, making cuts with a table saw and jigsaw. Then it became kind of a nightmare (and so did I). The subfloor had sagged under the weight of the old kitchen walls, and after 40+ years the surface had dips and humps, and despite numerous attempts to level to within an eighth of an inch, the floating floors bounced and puckered. I was worried they would fail over time and they felt really off. I pulled them up and tried to shim the subfloor more times that I care to remember, Ben poured a special quick-set leveling cement on the floor, but there were still pockets, but after a second round we were able to get it "straight" allowing the floor to follow the natural sag of the house, eliminating the bounce.

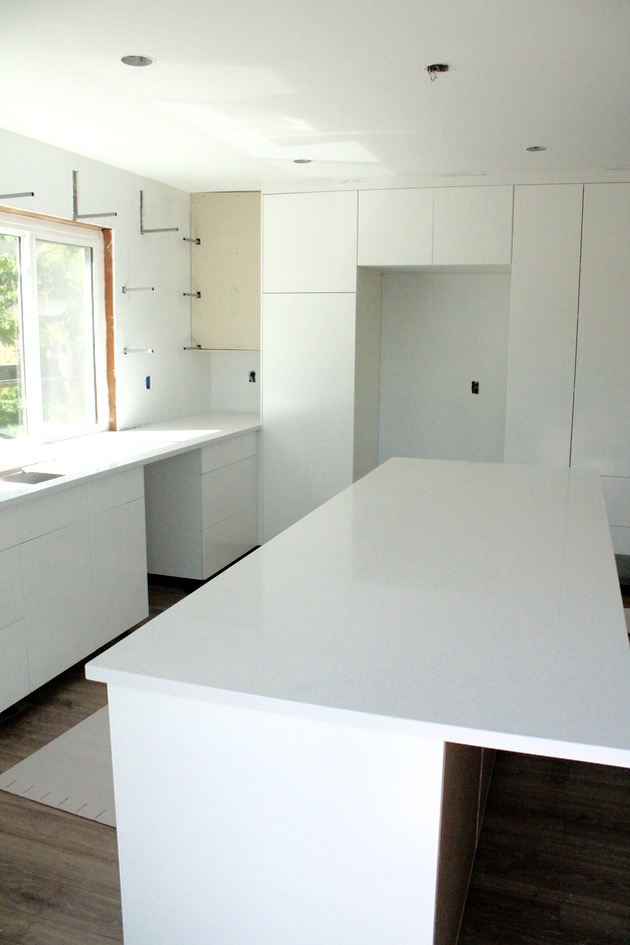
After the floors were finally finished the white quartz counter-tops were installed and it started to look more like the picture in my head.
Then school was out for summer, and I had my little buddy Jasper home to play DJ while I started the tiling in the kitchen... I will always think of Taylor Swift when I look at the backsplash. I originally wanted to do hex tiles, then a herringbone pattern, but finally decided on 2x7 1/2 subway tile to keep it classic. Ben showed me how to use the tile cutter and how to prep the mortar with a big mixing blade (I looks like a small jack hammer). Tiling is tedious, but it's not that hard to do. When I move on to the bathroom I think I'll try out a different pattern.

There's still a lot of work to do before I can really get into decorating which is what I really want to be doing right now, and I still have so much to share. I've really, really missed the blog so I hope you're still with me. Tomorrow, I'll be teaming up with Kohler to do a sneak peek of the the mostly completed kitchen with some tips on how to design a small kitchen in an open floor plan, so stay tuned!
xo, Heather