Tiny Sculptural Art
/
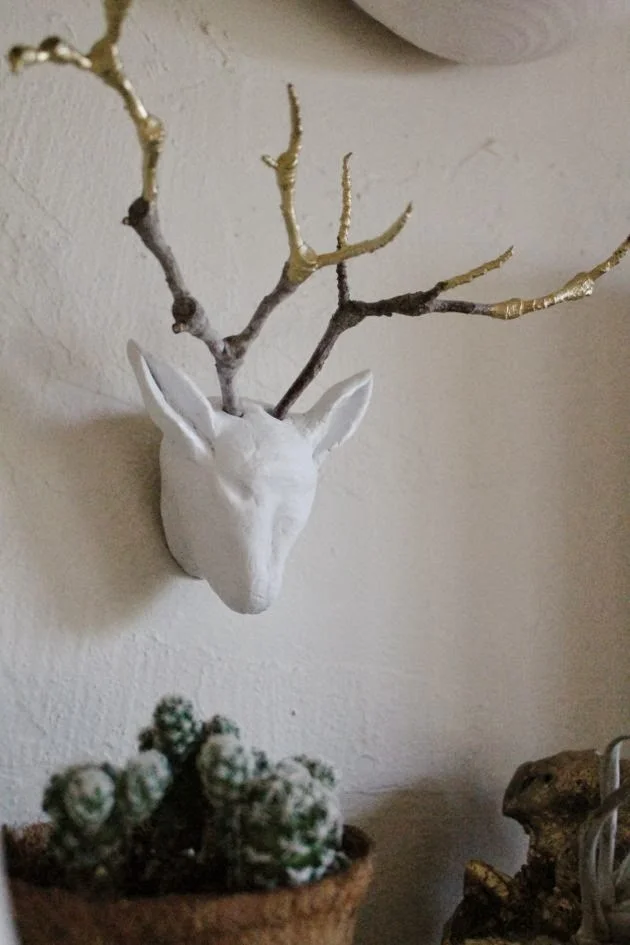
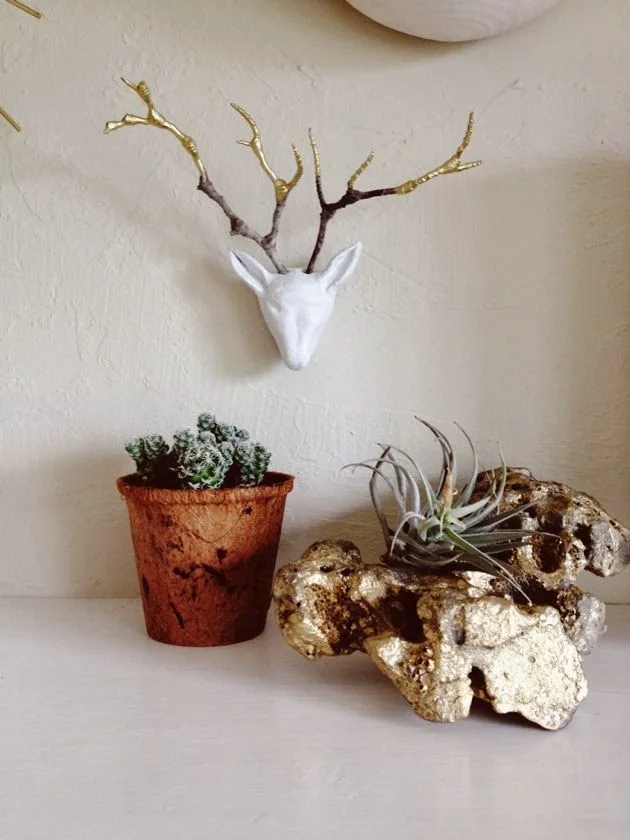
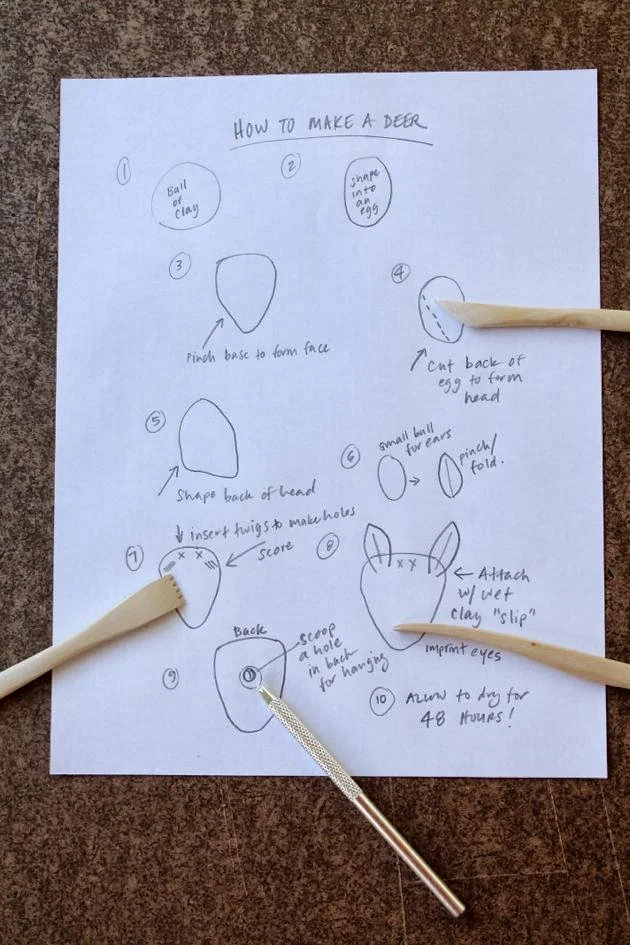
When we lived in Oakland our house backed up to a rocky, eucalyptus dotted hill, and when we would eat our breakfast we were often greeted by a family of deer. It's one of the things I miss most about living where we did. Despite the fact that we were in a big Bay Area city, we were confronted by nature every day. I was staring at a newly purchased block of air dry clay, thinking... and decided to make my own young buck, a piece of tiny art, to remind me of that time. I'm no Jonathan Adler, but it's pretty cute. Displayed with a cluster of other weird plant-life including the gilded coral makes a little flora and fauna statement. Here's my tutorial with handwritten instructions, because it's hard to take pictures of yourself working with clay...
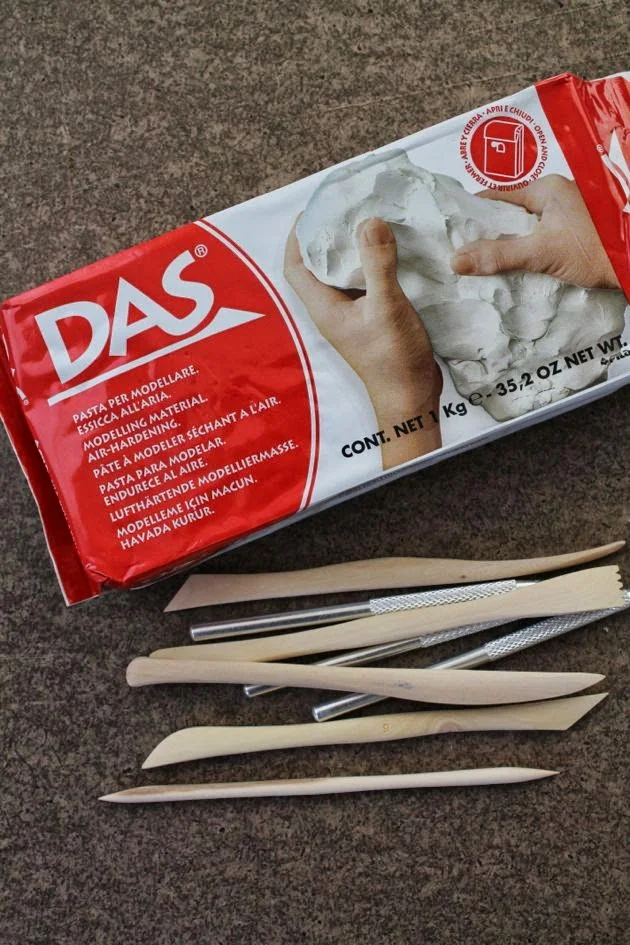
Materials: Air Dry white clay, clay tools (found at Michael's), twigs, gold leaf paint, paint brush, and white spray paint.
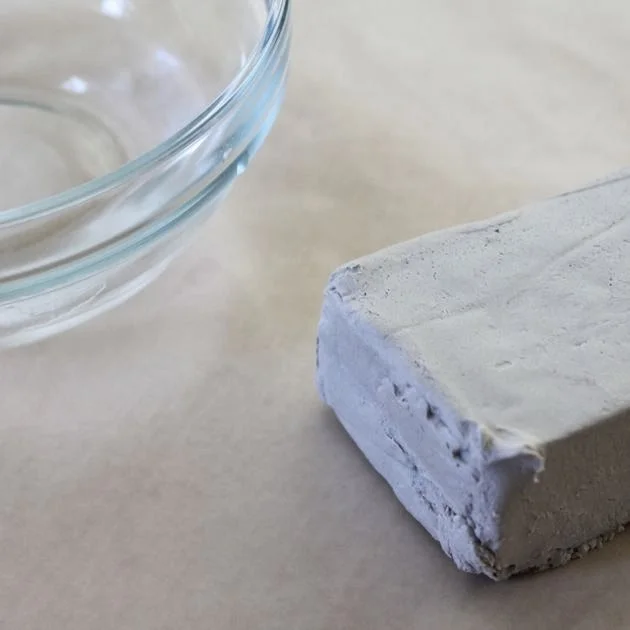
The trick to using air dry clay is to keep it moist. Dip your fingers in water when it begins to dry out while working with it. Use more water on your finger to smooth cracks, and combine a little clay with water to create slip when attaching ears. Start with a lemon size ball of clay.
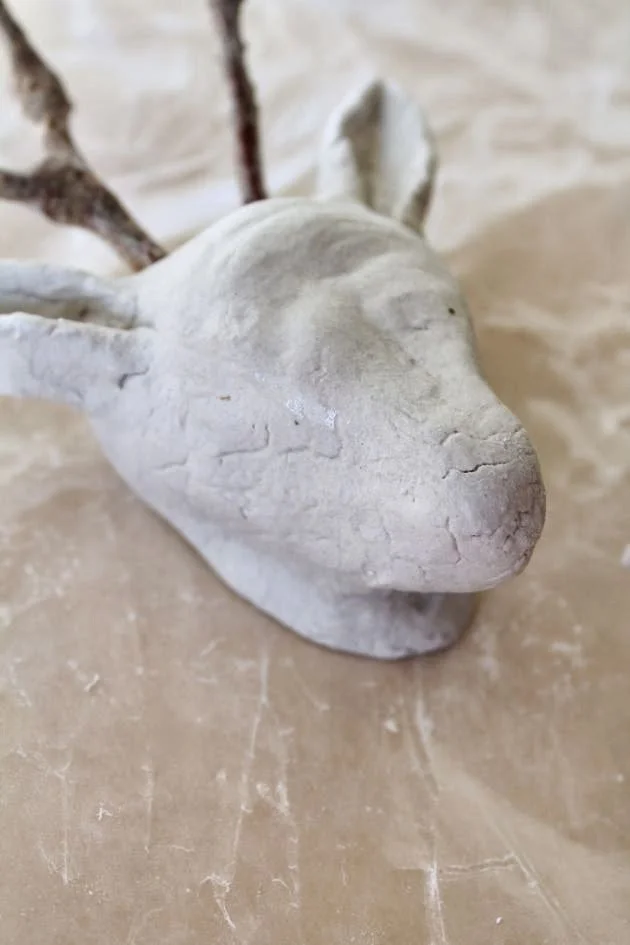
Go back over the cracks (see below) while still wet and smooth before allowing to dry.
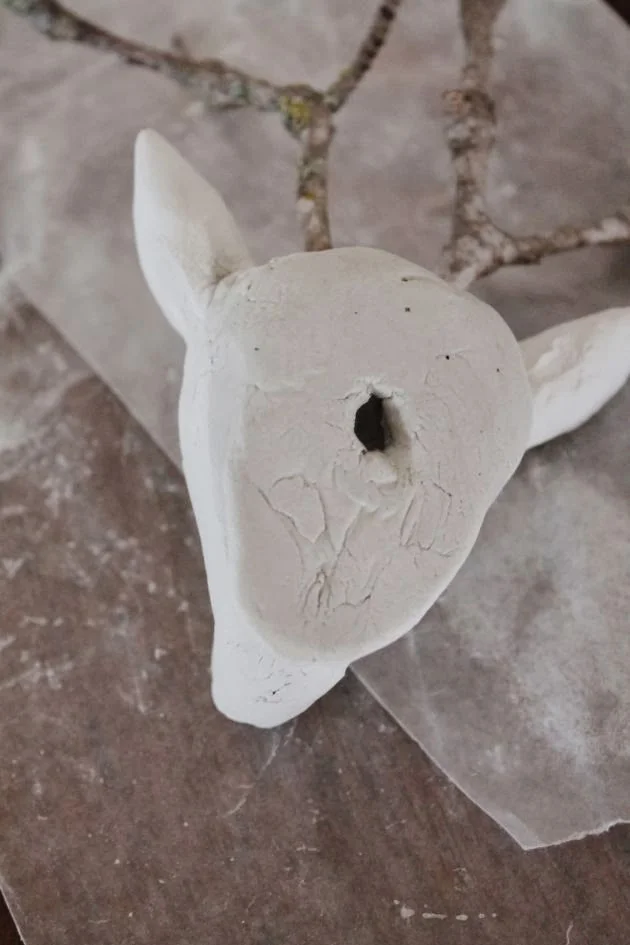
Scoop a hole in the back for hanging. Dry on it's back first, then rotate to expose back after face is set (about 24 hours each side).
I then spray painted the dried piece with white gloss to seal it. Next I applied gold leaf paint to the tips of the magnolia twigs. Once dry I inserted them into the holes and hung the piece.