
DIY Arrow Project + Video Tutorial
/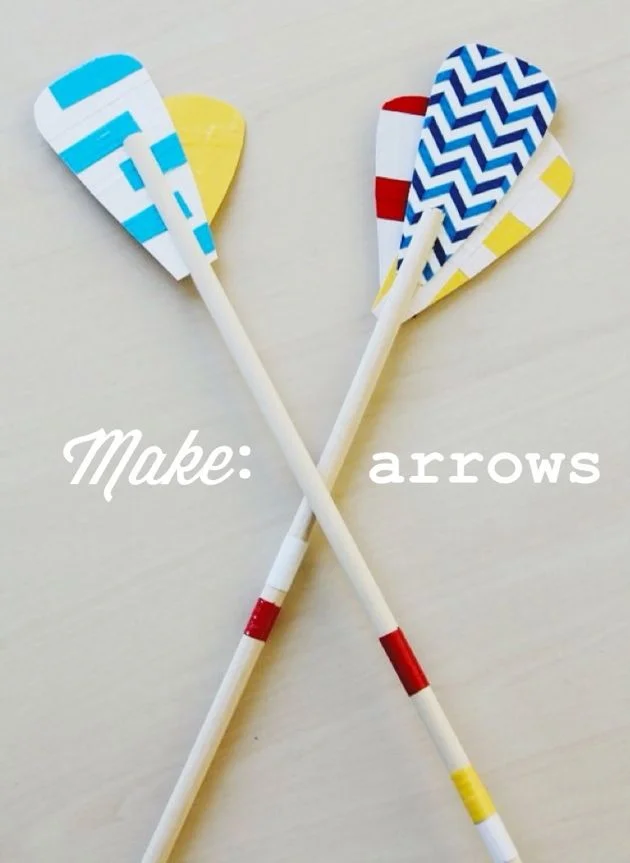
I am so excited to share this project with you today! I collaborated with Scotch Colors and Patterns Duct Tape to bring to life this DIY arrow tutorial which features two of my favorite materials: wooden dowels and duct tape. Watch the video below to see how it's done. I've included a materials list and instructions at the end of the post. Enjoy!

Materials:
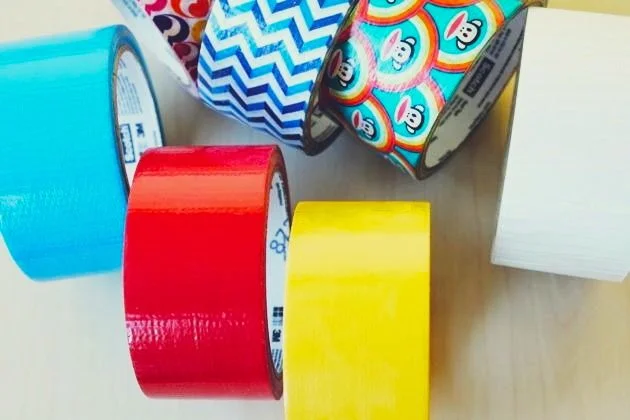
- Assorted Duct Tape- Scotch brand has beautiful colors and patterns, and characters including Julius from Paul Frank!
Tools:
- Scissors
- Hot glue gun
- Rotary hand tool (Dremel)
- Drill with 5/16 bit
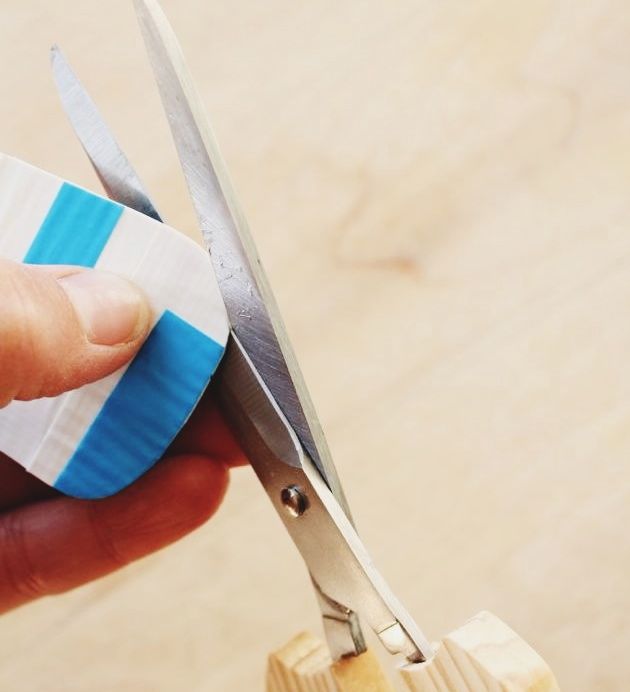
To make the arrows, first lay out layers of tape on card stock, covering both sides of the paper. Cut out the decorative end, rounding the tops and bottoms into a flat bottom tear drop shape.
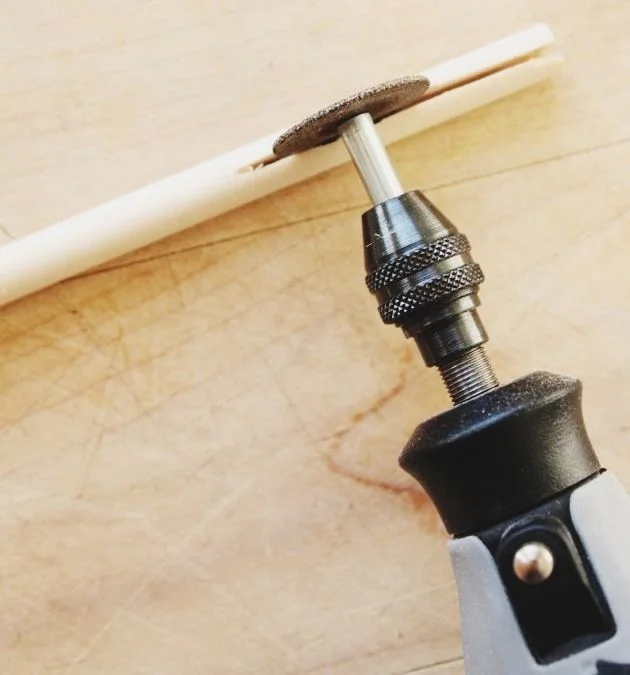
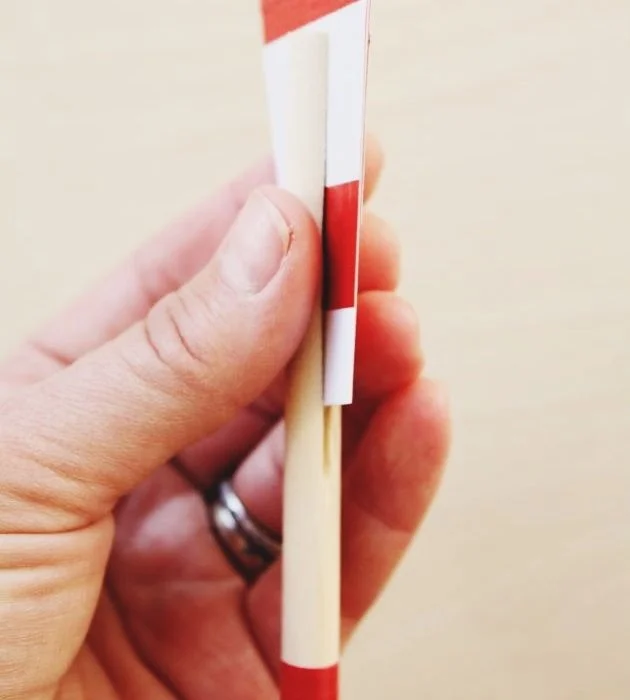
Next you'll need to put on some protective glasses and using a Dremel or other hand held rotary tool cut the dowel to 18 inches, then make a 4" cut through the center of one end.
Simply insert the decorative tape pieces into the cut end. To finish wrap thinner strips of tape around the dowels and place in a vase for display.

For more ideas on how to use Scotch Colors and Patterns Duct Tape visit their Facebook page, Pinterest board and Twitter account.
This post is a collaboration with Scotch Colors and Patterns Duct Tape. To see more creative projects, visit www.ScotchDuctTape.com.