Wall Mounted Pinch Pots
/
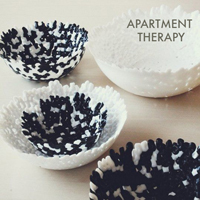
Our new house is white walled, and I'm kind of loving it. I like the idea of bringing in little pops of color with art and accessories. I can easily swap them out when I want to change things up. Because our upper level has great light and beautiful tree-filled valley view, I really want the interior walls to come alive with flora to mirror the outside. I even bought a few large Shane Powers ceramic wall pots from West Elm for hanging ferns on the stairwell wall (me and those ferns). Using these large pieces as a point of inspiration, I made some tiny versions with polymer clay to hang in smaller spaces, like the bathroom, or over a bedside table. I think the granite pots look like river rocks.
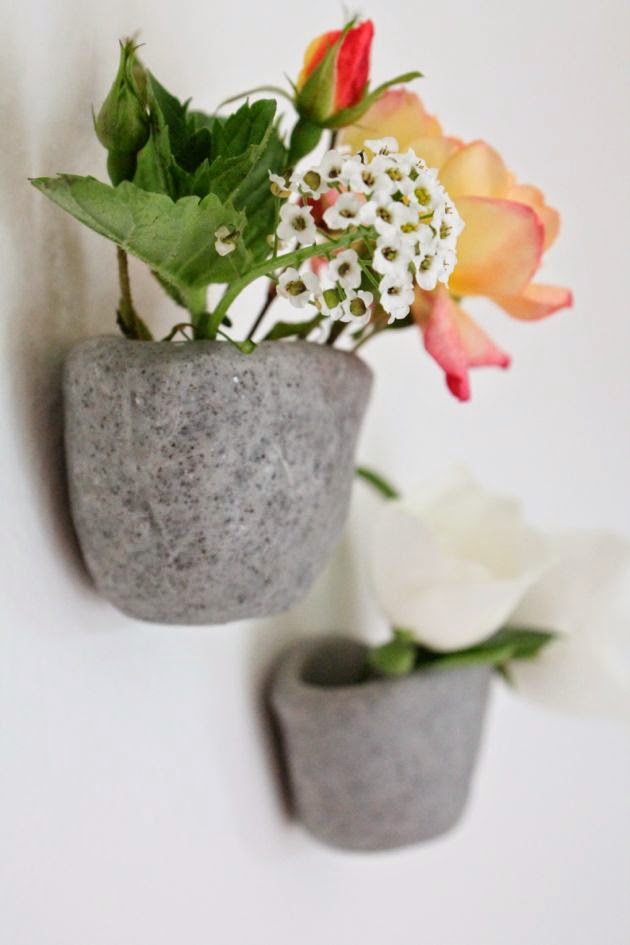
After the pots are oven-baked, they can hold water for itsy bitsy flower arrangements.
I scavenged these blooms from around our wild backyard. Slowly, we are making our new house our home! For the full tutorial read below.

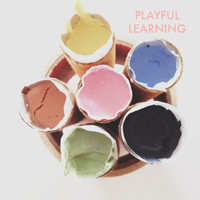
Wall Mounted Pinch Pots - you'll need at least 2oz polymer clay per pot, and some 3M adhesive tabs for hanging.
Roll polymer clay into an egg shape.

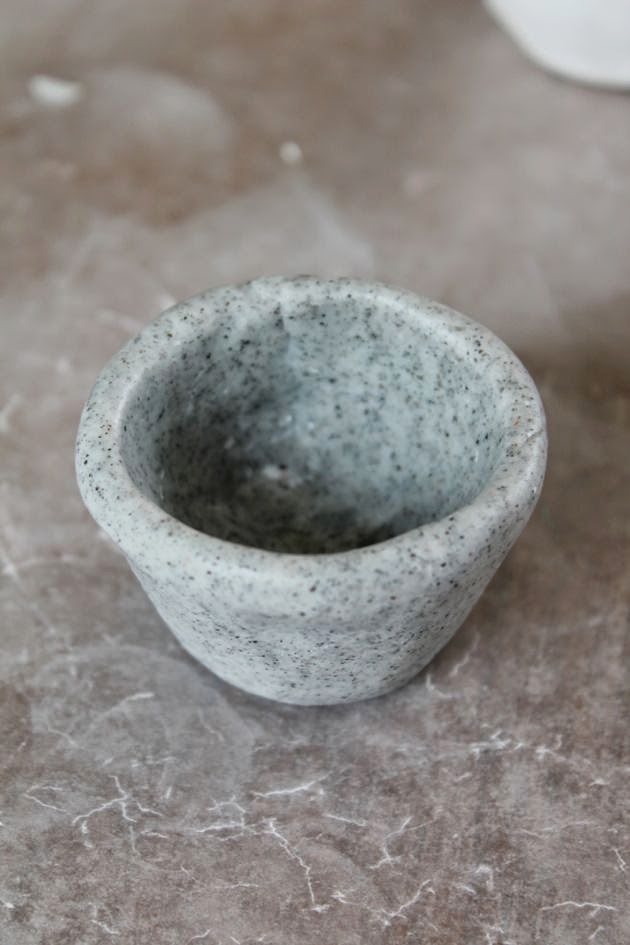
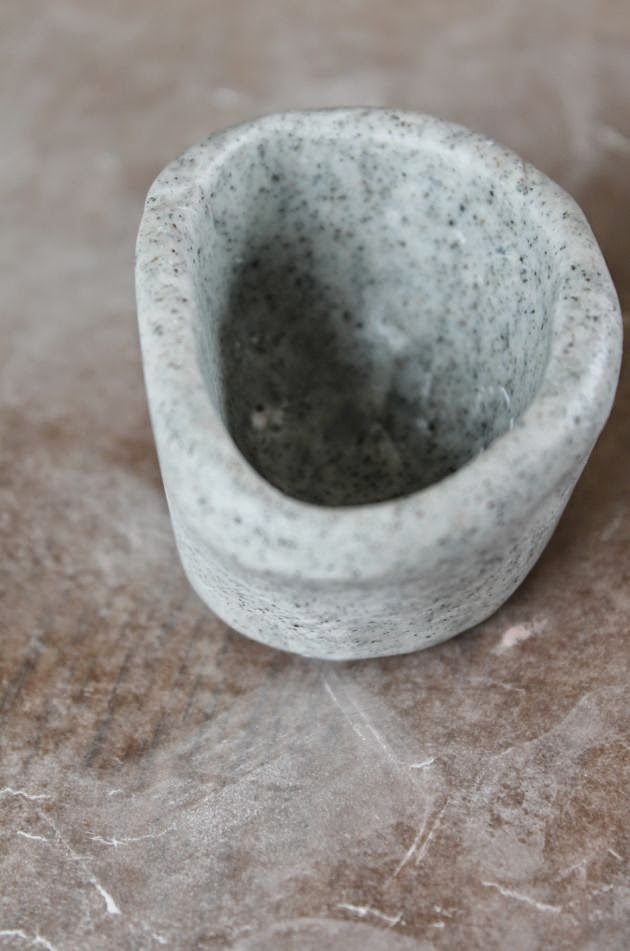
Push the center to about 1/4" base thickness. Then slowly open the bowl up.

Continue to shape the bowl until it is about 1/4 thick throughout,
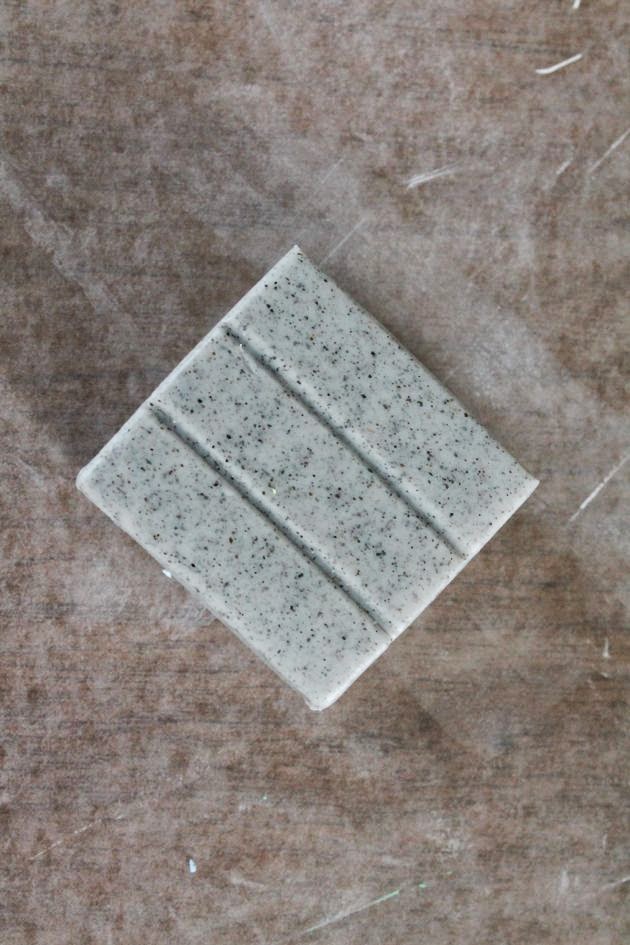
Flatten one side to create a surface for hanging. Bake on a wax paper covered baking sheet at 275 degrees for 30 minutes, until clay is set.
Allow to cool completely before handling.

Apply an adhesive back, designed to hold up to 1 lb. I used 3M's removable picture hanger, trimmed to fit.

check out the 1968 counter top!
For maximum adhesion, hang and allow to set to the surface for up to 12 hours before filling with water and flowers/greenery.